Showing posts with label Wilton. Show all posts

Monday, July 15, 2013

Gumpaste Iris Tutorial


I have uploaded a tutorial for making a gumpaste Dutch Iris. You can locate the video through this link:
Gumpaste Iris Part 1
and
Gumpaste Iris: Part 2

Here is the template for the Iris cutter if you do not have access to one of my cutter suggestions. Print the template on heavy card stock paper, cut it out and use it cut your gumpaste petals.Most of the tools that I used can be found at Nicholas Lodge or  Global Sugar Art.

Tools for Making the Gumpaste Iris

Artist Brushes for dusting – I like the nail art brush sets
Cel Board by CelCakes
Cel former Set #1 by CelCakes or Wilton flower former tray
Cel pad by CelCakes
Cel Shredderby CelCakes
Dusting colors: Canary yellow, Prairie Green, Royal Purple, Lilac, Cinnamon
Dusting pouch
Floral Tape
Floral Tape – I used light green
Florist wire: 22g., 24g. 26g.
Gel colors: brown and lemon yellow
Gum glue adhesive 
Iris Cutters – I used Framar cutters
Jem petal veiner
Jem Veiner Set #1
Long flat tweezers
Medium Cel pin by Nicholas Lodge
Petal pad by CelCakes
Practice board
Rolling pin
Thick foam and cosmetic sponge for cupping
Vegetable shortening
White gumpaste

Wilton Confectioners Tool Kit: ball tool, dog bone tool, pencil tool, 

Written Instructions are below.


Dutch Iris Instructions
*      Roll paste over three ridges of a grooved board to about 1/16th inch, remove paste and flip over.
*      Cut three of each Iris shape (standard petal, secondary fall petal, fall petal)
*      Store the petals under protective flap to prevent paste from drying out.

Fall Petals:
*      Insert a moistened 26 gauge wire about 1 inch into the base of the petal and pinch slightly at the base.
*      Using a cosmetic sponge, press the petal onto a veiner of choice, grooved side first, then the flat side.
*      On foam pad, using a ball tool, soften the petal, grooved side upwards, around the top edge of the petal almost down to the neck of the petal.
*      Using a petal veining tool (porcelain tool) or pencil tool, gently fold the base (neck) around the tool to form a hollow area.
*      Dry in the Styrofoam large Cel former or on a flower forming try with the flat side upwards.
*      Repeat with remaining two fall petals.

Secondary Fall Petals:
*      Insert a moistened 26 gauge wire about 1 inch into the base of the petal and pinch slightly at base to secure.
*      Using a cosmetic sponge, press the petal onto a veiner of choice, flat side first then grooved side.
*      With the dog bone tool on a foam pad, soften the two end pieces (rabbit ears)
*      Using flat tweezers create a deep ridge on in the center of the grooved side of the petal.
*      Again using the dog bone tool, Cup the two end pieces (rabbit ears) on the cosmetic sponge
*      Using the petal veiner tool (porcelain tool or a pencil tool, gently mold the base of the petal to form a hollow area.
*      Arrange the petal on top of a fall petal in the Cel former or dry on a flower former tray with the grooved side downwards. If using the Cel former, you may need to prop up the end of the petals with a bit of tissue.
*      Repeat with the two remaining secondary fall petals.

Standard Petals:
*      Insert a moistened 26 gauge wire about a third of the way into the base of the petal.
*      Using a cosmetic sponge, press the petal onto a veiner of choice grooved side first, then the flat side.
*      Using a ball tool on a foam pad, soften the petal edges slightly, using light pressure, so as not to create a frill. Using a ball tool on the cosmetic sponge, cup the end of the petal on the grooved side. Using the petal veiner (porcelain tool) or pencil tool, gently mold the base on the grooved side to form a hollow area.
*      Repeat with the remaining two standard petals.


Leaves:
*      Roll light green paste over three ridges of a grooved board, remove paste and flip over. Cut three leaves using a lily leaf cutter or other long slender leaf cutter. Insert a moistened 24 gauge wire about halfway into the leaf at the base and pinch at the base to secure.
*      Using a cosmetic sponge, press the leaf onto a cornhusk veiner (may also use a lily leaf or lily of the valley leaf veiner).
*      Using a ball tool on a foam pad, soften the leaf edge with grooved side upwards.
*      Using a veining tool on soft thick foam, slide the tool down the center of the leaf starting at leaf base and ending at leaf tip to create a center vein. Dry the leaf on top of crumpled foil. Tape the leaf at the base with ½ width floral tape. Dust the leaf with Prairie green dusting powder over large sections of leaf. Add accents of a darker green dusting powder in small sections if desired.

Dusting the Petals:
Use your creative flair for this please …here is what I did:
*      Fall Petals: Prairie Green petal dust in center of petal back and at base of petal front. Lilac petal dust on the petal edges and all over the back of the petal. Royal Purple petal dust for inner parts of the front of the petal brushed to form an arc shape and blended towards petal edge.
*      Secondary petal: Prairie green at the base of the petal. Royal Purple intensely brushed on groove of petal, center of petal back and gently blended towards petal edge. A quick brush with the lilac brush at petal edges.
*      Standard Petal: Brush front and back of petal with Lilac dusting powder. Brush petal edges in a few areas with the Royal Purple dusting powder.

To Assemble:
*      Tape all the petals with ½ width floral tape. Tape a Secondary fall petal to each fall petal so that the secondary fall petal rests atop the fall petal using ½ width floral tape.
*      Tape, using full width floral tape, the three Standard petals at the petals base to a 22 gauge wire with floral tape. The grooved side of the petals should face each other.
*      Add a Secondary fall/fall petal combination to the Standard petals, situating them so they rest in between each standard petal (see video for details).
*      Add two more 22 gauge wires at the base of the assembled petals and tape the length of the wires adding in leaves as desired.
*      Steam the Iris to set the color and give the flowers an attractive sheen.

Please email if you have any questions.  I hope you have fun making this flower.

Evelyn

Wednesday, June 27, 2012

June Daring Bakers Challenge - Battenburg Cake


Mandy of What The Fruitcake?! came to our rescue last minute to present us with the Battenberg Cake challenge! She highlighted Mary Berry’s techniques and recipes to allow us to create this unique little cake with ease. If you want Mandy's wonderful recipes, click here.

The challenge this month was one of my favorites. Although we were given quite a specific item to make, Mandy gave us all kinds of creative freedom.  First here is a little background about Battenberg cakes that I am quoting from Mandy's challenge.

The first Battenberg cake was made to celebrate the marriage of Queen Victoria’s granddaughter, Princess Victoria, to husband Prince Louis of Battenberg.
It’s traditionally flavoured with almond and has the signature Battenberg markings, that is, the yellow and pink squares (said to represent the four princes of Battenberg). The strips of sponge are glued together using jam (normally apricot) and the whole cake is covered in marzipan. Sometimes the edges are crimped and the top is patterned with a knife.

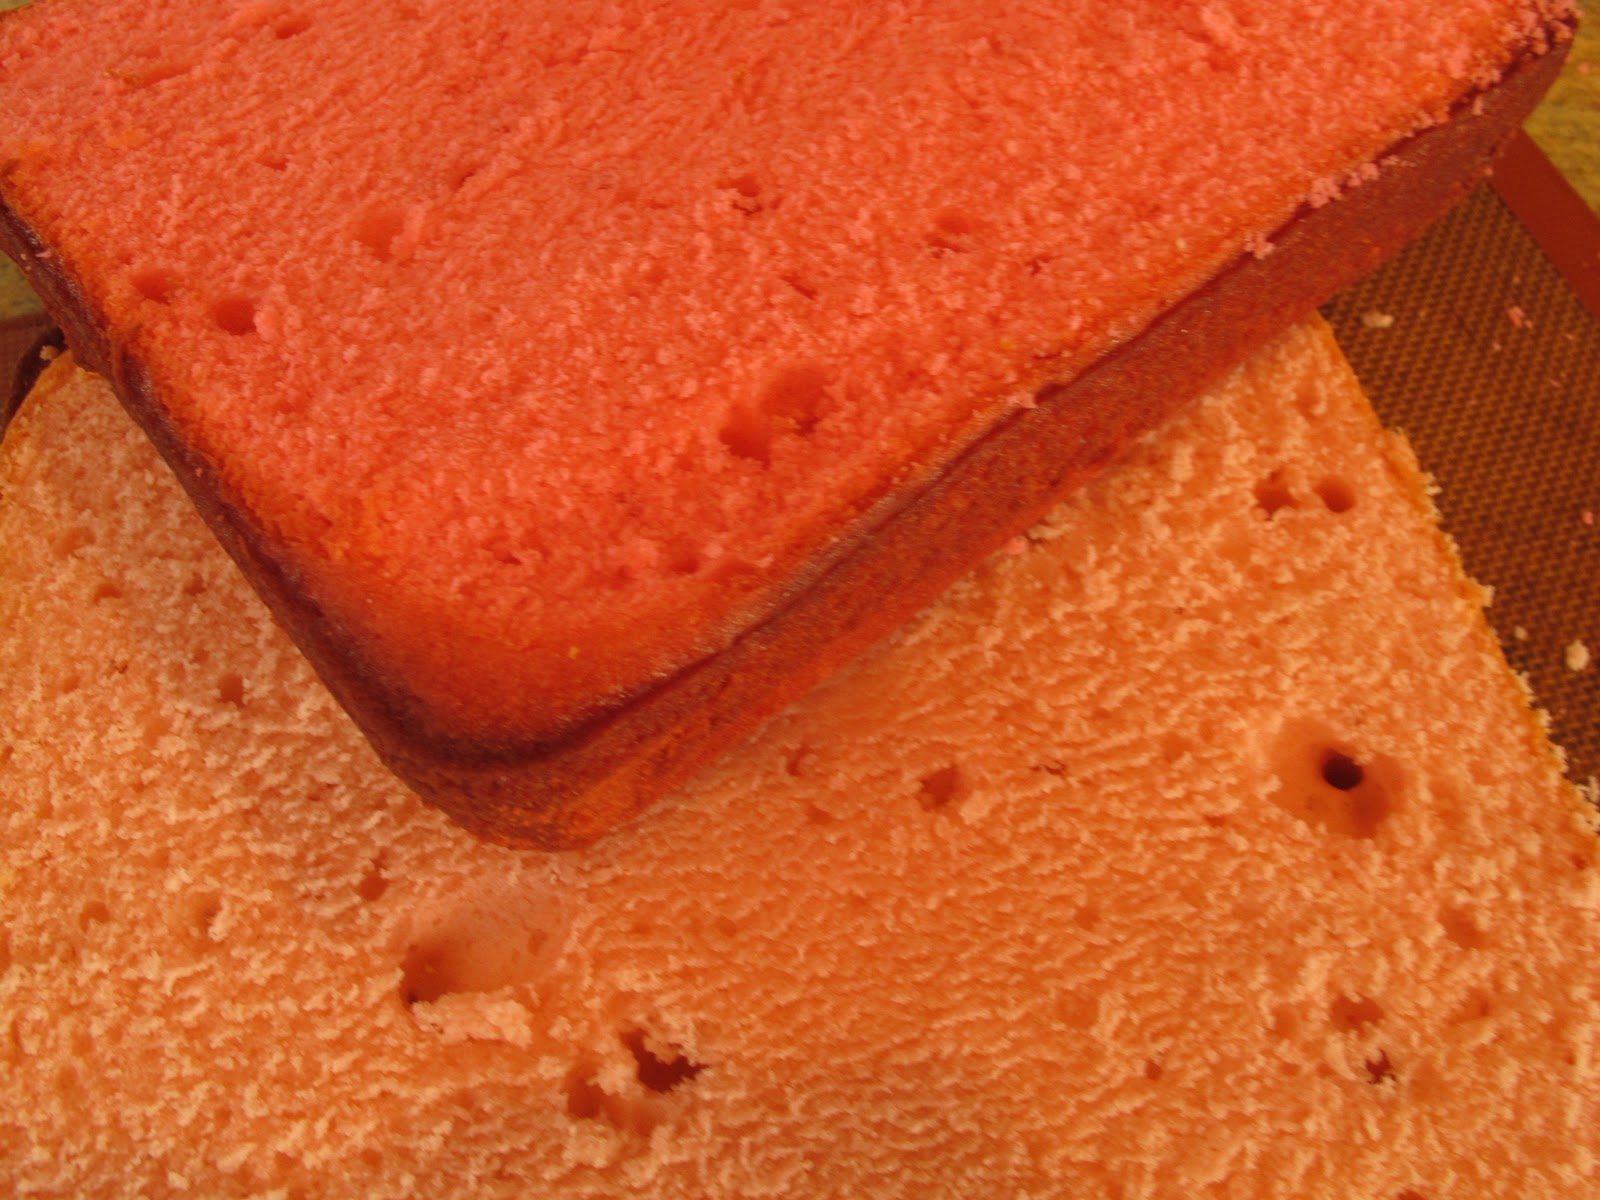
The cake is thoroughly English but being thoroughly American, I looked around for something that would appeal to my crowd.  I had a copy of Better Homes and Gardens magazine (yes, I am a magazine addict) that featured a Pink Lemonade Cake on the front cover. The cake looked so refreshing, light and summery that I knew I would have to make it. The recipe is courtesy of Karen Tack who along with Alan Richardson, has written some fun books about cupcakes and most recently cookies and cake pops. Although I was not fond of the recipes in their books, I found their creative ideas of decorating wonderful and accessible. Looking at the recipe, I was dismayed that it used red food coloring but I decided to go ahead and try it but use frozen pink lemonade and as little pink food color as possible.

The cake was really easy to make and I loved that the Battenberg is not a large cake. The recipe actually makes two cakes and that was great for sharing. Also, I felt like it was gone before it had a chance to go stale. I strayed from the traditional technique quite a bit so don't go looking for authenticity here. I used a cream cheese icing to glue everything together and covered the whole thing in fondant. I used Albert Uster's Massa Grischuna Neutral fondant. I LOVE this fondant. You can roll it thinly and it has a lovely buttery taste to it. You will also notice that I used an impression mat to make a pretty floral design on the fondant. Wilton makes several designs in impression mats and I love working with them as they are large and easy to use. I am going on and on so I should just shush up and give the recipes with pictures.

 Don't be afraid to try this cake. You will be surprised, I think, how easy, delicious and dramatic a dessert the Battenberg is to make. Mandy, please forgive this Yank but I believe I am going to use my stars impression mat and make this cake red, white and blue for Independence Day! Living in Boston has made an upstart of me.
One Batter...Two Colors

Pink Lemonade Cake

1 cup unsalted butter, or 2 sticks
2 cups sugar
4 large eggs, room temperature
3 1/2 cups all-purpose flour
1 tablespoon baking powder
1/2 teaspoon salt
1/4 cup frozen pink lemonade concentrate, thawed
1/2 teaspoon lemon extract
1 1/3 cups milk, room temperature
1/4 teaspoon pink food color
Grease and line the bottoms of two 8-inch square cakepans with parchment paper cut to fit. Pre-heat the oven to 350 degrees farenheit.
 Sift together the flour, baking powder and salt. Set aside for later.
In a large mixing bowl or stand mixer fitted with the paddle attachment, beat the butter on medium speed. add sugar slowly and continue to beat approximately five minutes. scrape the inside and bottom of the bowl with a rubber spatula.
 Add eggs one at a time beating well after each addition, scraping the inside and bottom of bowl often.
In a separate bowl, stir together the milk, lemon extract and pink lemonade concentrate. The mixture may look curdled.
 Alternately add the flour mixture and milk mixture to the butter mixture on low speed until just combined. Add 1/8 teaspoon pink food color.
Pour half the batter into prepared pan. Add another 1/8 teaspoon food color to the remaining batter and pour into other prepared pan.
 Bake approximately 25 to 30 minutes or until a toothpick inserted in the center comes out clean. Remove to a wire rack and cool 10 minutes. Remove cakes from pan onto wire rack and cool completely before decorating.
Thin consistency Icing is best for frosting a cake!
Cream Cheese Frosting
1/2 cup unsalted butter, softened
8 ounces cream cheese, softened
3 cups confectioner's sugar, sifted, if opened package
2 teaspoons vanilla extract
pinch salt
Heavy cream - optional

Beat butter and cream cheese until fluffy; beat in the sugar, salt and vanilla until smooth. Thin with heavy cream, if necessary, to achiece a spreadable consistency.


Wilton's Floral Expressions Impression Mat
Once the cake is completely cool, trim the edges of the cake with a long serrated knife.Cut each colored sponge in half lengthways so that you are left with four long strips of sponge Neaten the strips and trim as necessary so that your checkered pattern is as neat and even as possible. Spread the frosting onto the strips of cake to stick the cake together in a checkered pattern (one light pink next to one darker pink. On top of that, one darkeer pink next to one light pink).
Cover the entire cake in frosting and chill. Covering the cake in fondant is easier if the frosting is firm.
Roll the fondant about 1/8 to 1/16 inch thick and cover the cake. Smooth the sides with a fondant smoother working from the top downward. If you want to use an impression mat, roll the fondant a little thicker, transfer to the mat, press firmly with your hand or fondant smoother. Invert the impression mat over the cake, centering it so the fondant drapes evenly over the cake, and peel away the mat. Smooth gently so as not to remove the impression detail.

To smooth any wrinkles at the bottom, lift the fondant away gently fluffing as you would a tablecloth. Never pull on the fondant. Don't stress if there are a few wrinkles at the bottom though. The cake will taste just as yummy and you can hide them with a lovely garnish of edible flower petals, mint or perhaps some handmade sugar flowers.

Completed Cake with Royal Icing Flowers on top