Wednesday, June 27, 2012

June Daring Bakers Challenge - Battenburg Cake


Mandy of What The Fruitcake?! came to our rescue last minute to present us with the Battenberg Cake challenge! She highlighted Mary Berry’s techniques and recipes to allow us to create this unique little cake with ease. If you want Mandy's wonderful recipes, click here.

The challenge this month was one of my favorites. Although we were given quite a specific item to make, Mandy gave us all kinds of creative freedom.  First here is a little background about Battenberg cakes that I am quoting from Mandy's challenge.

The first Battenberg cake was made to celebrate the marriage of Queen Victoria’s granddaughter, Princess Victoria, to husband Prince Louis of Battenberg.
It’s traditionally flavoured with almond and has the signature Battenberg markings, that is, the yellow and pink squares (said to represent the four princes of Battenberg). The strips of sponge are glued together using jam (normally apricot) and the whole cake is covered in marzipan. Sometimes the edges are crimped and the top is patterned with a knife.

The cake is thoroughly English but being thoroughly American, I looked around for something that would appeal to my crowd.  I had a copy of Better Homes and Gardens magazine (yes, I am a magazine addict) that featured a Pink Lemonade Cake on the front cover. The cake looked so refreshing, light and summery that I knew I would have to make it. The recipe is courtesy of Karen Tack who along with Alan Richardson, has written some fun books about cupcakes and most recently cookies and cake pops. Although I was not fond of the recipes in their books, I found their creative ideas of decorating wonderful and accessible. Looking at the recipe, I was dismayed that it used red food coloring but I decided to go ahead and try it but use frozen pink lemonade and as little pink food color as possible.

The cake was really easy to make and I loved that the Battenberg is not a large cake. The recipe actually makes two cakes and that was great for sharing. Also, I felt like it was gone before it had a chance to go stale. I strayed from the traditional technique quite a bit so don't go looking for authenticity here. I used a cream cheese icing to glue everything together and covered the whole thing in fondant. I used Albert Uster's Massa Grischuna Neutral fondant. I LOVE this fondant. You can roll it thinly and it has a lovely buttery taste to it. You will also notice that I used an impression mat to make a pretty floral design on the fondant. Wilton makes several designs in impression mats and I love working with them as they are large and easy to use. I am going on and on so I should just shush up and give the recipes with pictures.

 Don't be afraid to try this cake. You will be surprised, I think, how easy, delicious and dramatic a dessert the Battenberg is to make. Mandy, please forgive this Yank but I believe I am going to use my stars impression mat and make this cake red, white and blue for Independence Day! Living in Boston has made an upstart of me.
One Batter...Two Colors

Pink Lemonade Cake

1 cup unsalted butter, or 2 sticks
2 cups sugar
4 large eggs, room temperature
3 1/2 cups all-purpose flour
1 tablespoon baking powder
1/2 teaspoon salt
1/4 cup frozen pink lemonade concentrate, thawed
1/2 teaspoon lemon extract
1 1/3 cups milk, room temperature
1/4 teaspoon pink food color
Grease and line the bottoms of two 8-inch square cakepans with parchment paper cut to fit. Pre-heat the oven to 350 degrees farenheit.
 Sift together the flour, baking powder and salt. Set aside for later.
In a large mixing bowl or stand mixer fitted with the paddle attachment, beat the butter on medium speed. add sugar slowly and continue to beat approximately five minutes. scrape the inside and bottom of the bowl with a rubber spatula.
 Add eggs one at a time beating well after each addition, scraping the inside and bottom of bowl often.
In a separate bowl, stir together the milk, lemon extract and pink lemonade concentrate. The mixture may look curdled.
 Alternately add the flour mixture and milk mixture to the butter mixture on low speed until just combined. Add 1/8 teaspoon pink food color.
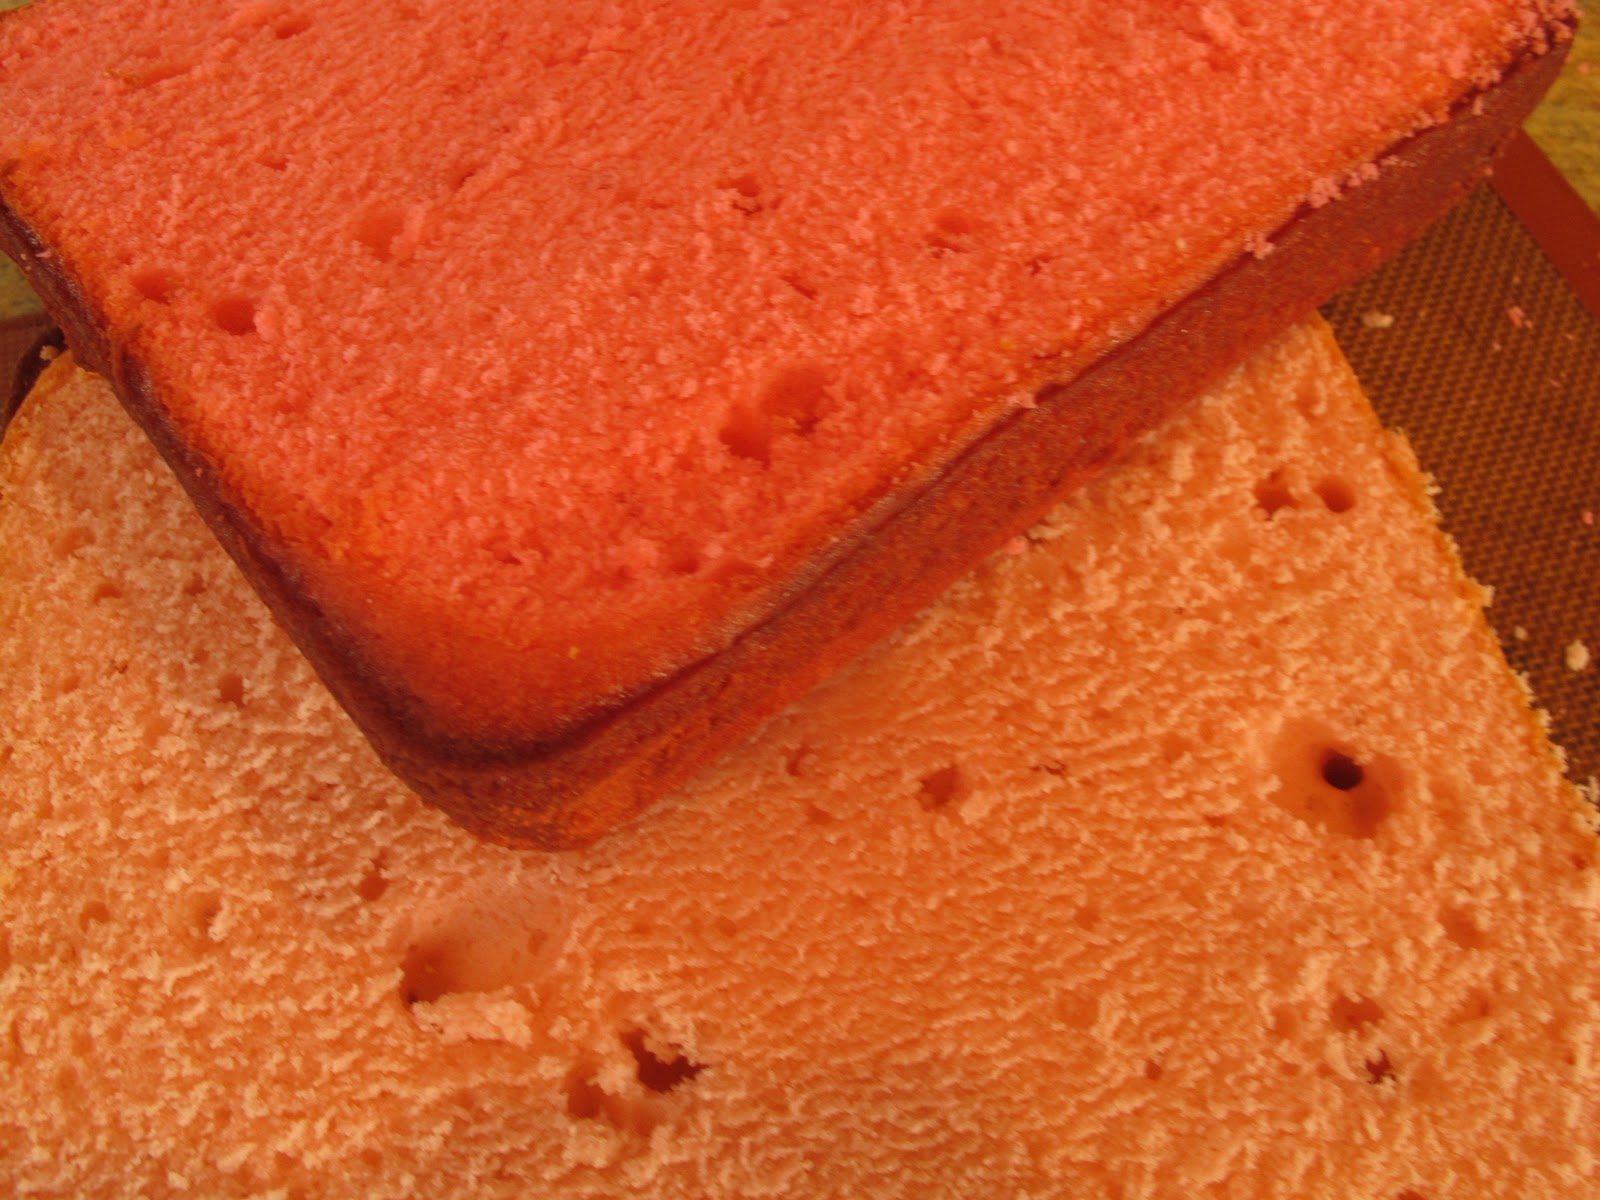
Pour half the batter into prepared pan. Add another 1/8 teaspoon food color to the remaining batter and pour into other prepared pan.
 Bake approximately 25 to 30 minutes or until a toothpick inserted in the center comes out clean. Remove to a wire rack and cool 10 minutes. Remove cakes from pan onto wire rack and cool completely before decorating.
Thin consistency Icing is best for frosting a cake!
Cream Cheese Frosting
1/2 cup unsalted butter, softened
8 ounces cream cheese, softened
3 cups confectioner's sugar, sifted, if opened package
2 teaspoons vanilla extract
pinch salt
Heavy cream - optional
Beat butter and cream cheese until fluffy; beat in the sugar, salt and vanilla until smooth. Thin with heavy cream, if necessary, to achiece a spreadable consistency.


Wilton's Floral Expressions Impression Mat
Once the cake is completely cool, trim the edges of the cake with a long serrated knife.Cut each colored sponge in half lengthways so that you are left with four long strips of sponge Neaten the strips and trim as necessary so that your checkered pattern is as neat and even as possible. Spread the frosting onto the strips of cake to stick the cake together in a checkered pattern (one light pink next to one darker pink. On top of that, one darkeer pink next to one light pink).
Cover the entire cake in frosting and chill. Covering the cake in fondant is easier if the frosting is firm.
Roll the fondant about 1/8 to 1/16 inch thick and cover the cake. Smooth the sides with a fondant smoother working from the top downward. If you want to use an impression mat, roll the fondant a little thicker, transfer to the mat, press firmly with your hand or fondant smoother. Invert the impression mat over the cake, centering it so the fondant drapes evenly over the cake, and peel away the mat. Smooth gently so as not to remove the impression detail.

To smooth any wrinkles at the bottom, lift the fondant away gently fluffing as you would a tablecloth. Never pull on the fondant. Don't stress if there are a few wrinkles at the bottom though. The cake will taste just as yummy and you can hide them with a lovely garnish of edible flower petals, mint or perhaps some handmade sugar flowers.

Completed Cake with Royal Icing Flowers on top

Sunday, June 24, 2012

Back of the Box Blog - Corn Flake Chicken


Corn Flake Chicken is a weekly staple at our house these days. The dish is really easy and quick to prepare. On a busy week night, I can get the chicken and fixings on the table in less than an hour.
Corn flake chicken is glorified fried chicken but it reminds me of Wiener schnitzel, a dreamy dish I had long ago at a wine cellar in Vienna. I think of that adventure every time I make the dish so there is another reason to have it on the table once a week.

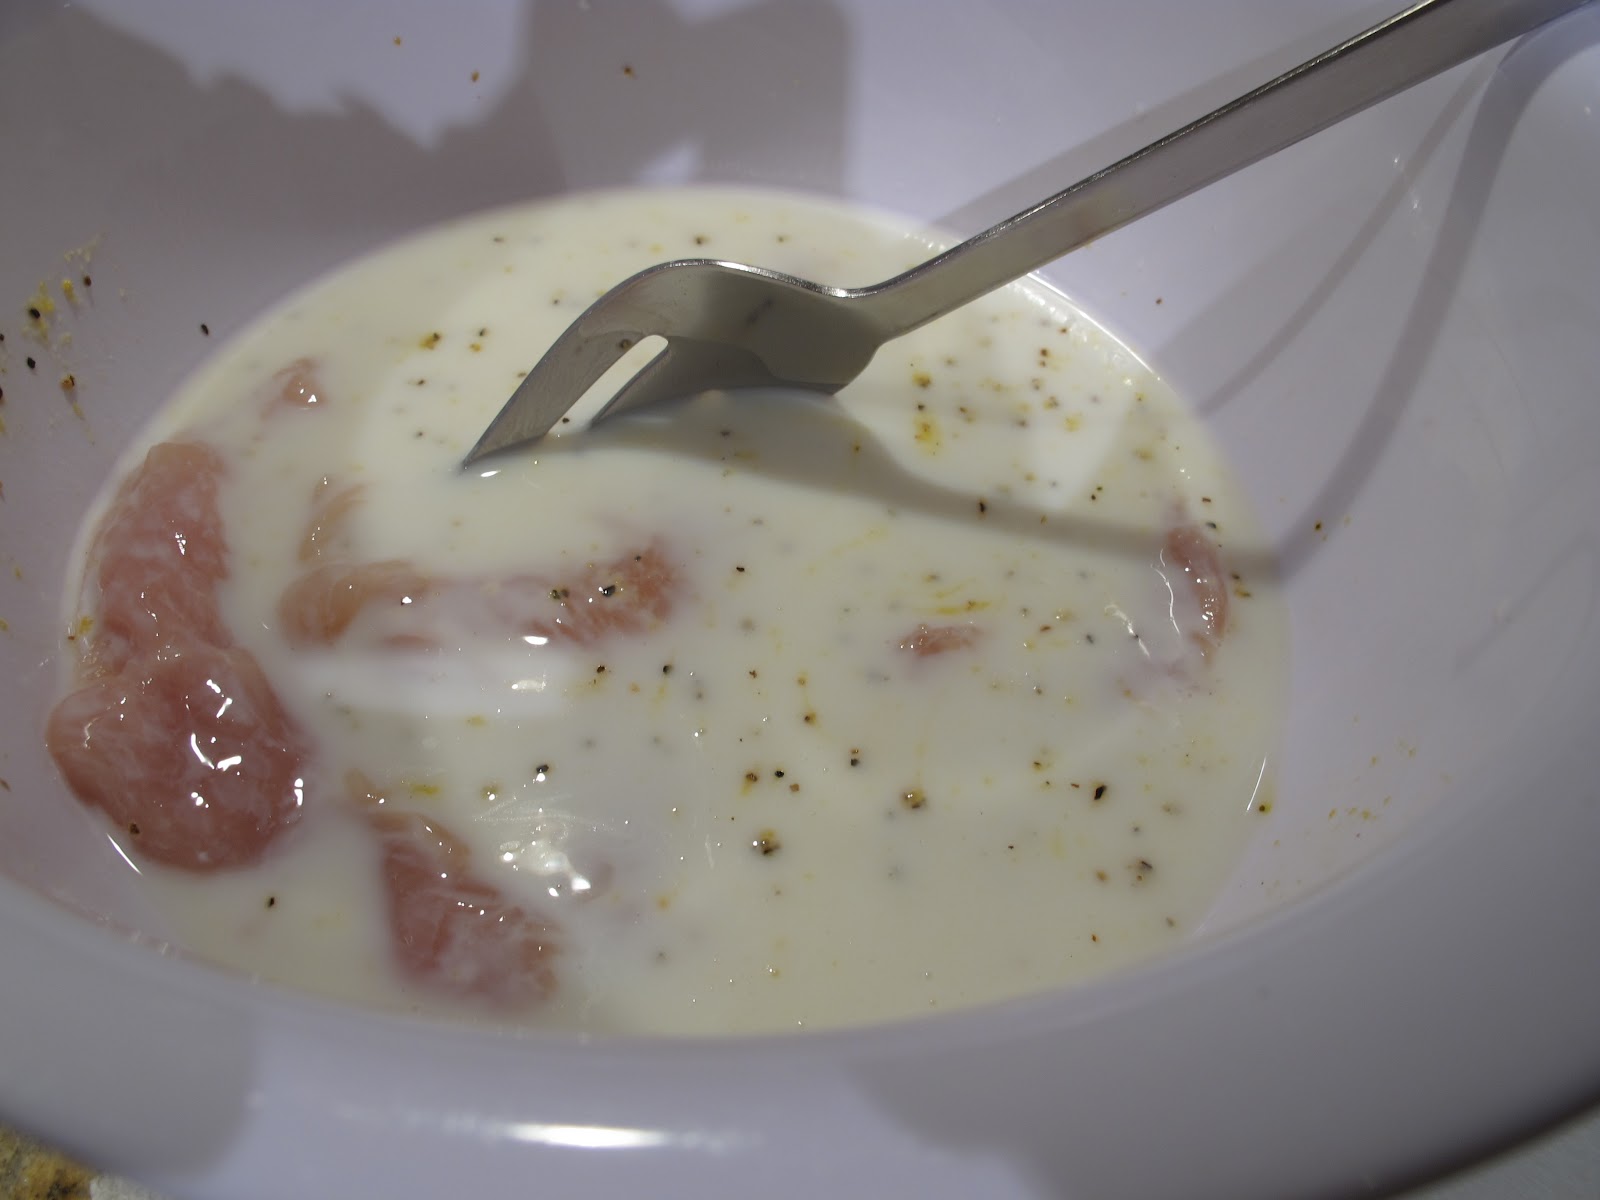
I start by pounding the chicken breasts thinly with my meat tenderizer. I soak the chicken in buttermilk instead of the milk listed from the back of the box in deference to my southern roots where it is tradition to soak chicken in buttermilk before frying it. I find that the soaking makes a tender chicken. I use Kellogg's Corn Flake Crumbs although I will crush up a box of Corn Flakes if I cannot find the crumbs at the store. I have tampered with the original recipe as is my prerogative so you may want to tamper with my version.   I feel like I can serve this dish with anything although the lemon wedges for squeezing over the chicken at the last minute is a wine cellar trick that I love and continue. I usually get the chicken soaking and then see what is hiding in the fridge.  My favorite is as it is seen here with a refreshing salad of mixed lettuces (dressed up this time with hazelnut crusted goat cheese and tender little green beans) tossed with a garlicky vinaigrette and what you don't see here, a freshly opened bottle of Pinot Noir. A to Z Pinot from Oregon is my current favorite to sip.


Corn Crisped Chicken  adapted from the back of the Kellogg's Corn Flake Crumb box
4 boneless, skinless chicken breasts
1 cup buttermilk
1 tablespoon lemon pepper seasoning (optional)
1 1/2 teaspoon seasoned salt
2 cups Kellogg's Corn Flake Crumbs
1/4 cup  olive oil
Lemon wedges for garnish
Pound the chicken breasts evenly to 1/4 inch thickness for best results.To pound meat thin you may want to place the cutlet between sheets of wax paper for easier washing up. Use a heavy, flat-surface pan to pound if you don’t have a meat mallet.  Pour the buttermilk into a medium bowl. Add the seasoned salt and the lemon pepper if using. Soak the chicken breasts in the buttermilk for up to an hour...I usually give it about 20 minutes.
Put the corn flake crumbs in a shallow dish. I use a pie pan. Drain the chicken breasts and coat each one in the crumbs, turning and pressing the crumbs into the breasts lightly.
Set a large heavy saute pan over medium high heat and add the coated chicken breasts. Shake the pan gently to make sure the chicken is not sticking to the pan. Reduce the heat to medium. Cook about 4 minutes each side. Drain briefly on paper towels before plating.
Serve with lemon wedges.
Serves 4.

Sunday, May 27, 2012

May Daring Bakers Challenge - Challah


May’s Daring Bakers’ Challenge was pretty twisted – Ruth from The Crafts of
Mommyhood challenged us to make challah! Using recipes from all over, and tips from “A Taste of
Challah,” by Tamar Ansh, she encouraged us to bake beautifully braided breads.

Challah is one bread I must say I would never think to make. I thought it would be full of complicated steps and mystery that surrounds the Jewish religion for me. And just like learning about the Jewish faith through my patient husband and not so patient son, I have found a richness woven as tightly as the braid of bread. Challah is not complicated or time consuming to make as I had thought before this challenge. I made one batch starting around noon and it was there at the dinner table warm and inviting.

Ruth gave us three nice recipes and I made the Honey Oatmeal option. I cut the recipe in half making one loaf.  I also used the three strand braid. I know how to braid hair and it is the same technique. The bread was a little on the sweet side but I loved that hint of honey sweetness with the roasted chicken and vegetable we had for dinner.

Leftover Challah  is great for bread puddings, I hear from many sources. I have a couple of leftover loaves in the freezer waiting for this Memorial Day when I plan to whip up a Banana Caramel Bread Pudding. I will let you know how that goes later this week.

For now, here is the recipe I used. Do try to read the hints provided by Ruth at the end of the recipe. I found them very helpful.  If you have a couple of hours, you have time to make Challah!

The dough has risen!


Challah (Honey White)
(from Tammy’s Recipes
)

Servings: 2 loaves
Ingredients
1 ½ cups (360 ml) warm water, separated
1 Tbsp. (15 ml) (15 gm/½ oz sugar
2 Tbsp. (2-2/3 packets) (30 ml) (18 gm) (2/3 oz) dry active yeast
½ cup (120 ml) honey
1 Tbsp. (15 ml) oil (light colored vegetable oil, or olive oil if you prefer)
4 large eggs
1 ½ tsp. 7½ ml) (9 gm) (1/3 oz) salt
5 cups (1200 ml) (700 gm/25 oz) all-purpose (plain) flour, plus more as needed (up to 8 or 9 cups total)
1 egg beaten with 1 tsp. water
Directions:
1. In mixer bowl/large mixing bowl combine ½ cup warm water, 1 Tbsp. sugar and 2 Tbsp. yeast. Allow to proof approximately 5 minutes until foamy.
2. To the yeast mixture add the remaining water, honey, oil, eggs, salt and 5 cups of flour. Knead (by hand or with your mixer’s dough hook) until smooth, adding flour as needed. Knead for approximately 10 minutes.
3. Transfer dough to a clean, oiled bowl, turn to coat or add a bit more oil on top. Cover bowl with a kitchen/tea towel. Leave to rise in a warm place until doubled, about 1 ½ hours.
4. Punch down the dough, divide it into two sections. Use one half to make each loaf (shaped or braided as desired).
5. Place loaves on parchment lined or greased baking sheets, cover with a towel, allow to rise 30 minutes.
6. Preheat oven to 325 degrees.
7. Brush tops loaves with egg wash. (Sprinkle with seeds or toppings here if wanted.)
8. Bake loaves 30-40 minutes until done.
9. Cool on wire racks.

If only I could braid my hair as easily.
Notes from Ruth:
Making strands: There are two basic methods for forming the strands used to braid challah. The first, and easiest, is to simply roll snakes between your hands like when working with clay or play dough. The second method is to use a rolling pin to roll out a flat disc of dough, then using your hands to roll the disc into a snake, rolling the snake on the counter with your fingers to achieve the length you need. This second method does result in a better rise, but either way works well. Whichever method you use, form your strands such that they are thinner at the ends and fuller in the middle. This will help your challah rise in the center.
If you are new to braiding – do yourself a favor and practice before you shape your dough! Over working the dough will make for a tough loaf. Practice your braiding or shaping with clay or play dough first in order to become more comfortable.


Light and airy


Monday, February 27, 2012

February 2012 Daring Bakers' Challenge - Quick Breads


  The Daring Bakers’ February 2012 host was – Lis! Lisa stepped in last minute and challenged us to create a quick bread we could call our own. She supplied us with a base recipe and shared some recipes she loves from various websites and encouraged us to build upon them and create new flavor profiles.


I used this challenge to make Banana Bread.
Oh, wait a minute! Before you yawn and  click away, I used the banana bread to make yummy French Toast. I served it for dessert and my guests loved it! I made the banana bread and kept it for a couple of days (ok I did eat a few slices) allowing the bread to get a bit stale. Then I made French Toast...super easy and served it with Sweet Scoops Frozen Ginger Yogurt and a drizzle of maple syrup. Then, because the french toast was so quick and easy, I had time to make some caramel and coat some banana slices for a crunchy garnish.


Banana Bread

4 cups all-purpose flour
2 teaspoons baking soda
1 teaspoon salt
8 ounces unsalted butter, room temperature
2 cups sugar
4 each eggs, large sized
2 cups bananas, very ripe and mashed
2/3 cup buttermilk, room temperature

Preheat the oven to 350 degrees. Prepare the loaf pans by spraying with food release. Sift together the flour, baking soda, and salt; set aside.
 Cream butter in a mixer with the paddle attachment. Add sugar slowly and beat for about five minutes.
  Add the eggs one at a time, beating well between each addition. Add the bananas.
Add the flour mixture alternately with the buttermilk  beginning and ending with the flour.
 Pour batter into prepared pans and bake until a tester toothpick comes out clean when inserted.
 Remove pans to a rack for about ten minutes. Remove bread from the pans and cool on a rack until room temperature.


Banana Bread French Toast:
    8 slices Banana Bread, 3/4 inch thick
    3 eggs
    1 cup Half and Half
    1 1/2 teaspoons light brown sugar
    1/8 teaspoon fresh nutmeg, ground
    2 tablespoons butter
    Maple Syrup
     Arrange slices of banana bread on platter to air dry fro several hours.
     Beat eggs and brown sugar together in a medium bowl with a whip until just incorporated. Add the Half and Half and the nutmeg.
     Arrange the French Toast on plates and garnish with maple syrup, frozen ginger yogurt and caramelized bananas, if desired
     Serves 4

Friday, January 27, 2012

January Daring Bakers - Scones


THE DARING BAKERS' JANUARY, 2012 CHALLENGE: BACK TO BASICS: SCONES (A.K.A. BISCUITS)
 Audax Artifex was our January 2012 Daring Bakers’ host. Aud worked tirelessly to master light and fluffy scones (a/k/a biscuits) to help us create delicious and perfect batches in our own kitchens!
I never knew that scones were actually biscuits or maybe I should say that biscuits are actually scones.
The challenge this month was lots of fun. The ingredients were not unusual and the method was fairly straight forward. As  a girl raised in the South, I was always a bit embarrassed by my biscuits. I knew from my upbringing in Alabama what a biscuit was supposed to taste like...I just could not make mine taste that way. When I moved up North, I was constantly asked to make biscuits or give biscuit advice. It was not pretty.
With the sound advice of Audax faraway in Australia, I now feel capable of turning out a really great biscuits/scones. He made many batches of biscuits, tweaking here and there to give us not only a great recipe with variations, but some terrific advice as well. I am sure I will be quoting him next time I am asked about making light biscuits.
I serve them at almost every meal now and really keep them quite basic. I may venture into a more exotic biscuit/scone but for now I am relishing the notion that I still have a bit of the South at my fingertips.
Thanks Audax. You are a fine gentleman!


Scones / Biscuits

Ingredients:1cup (240 ml) (140 gm/5 oz) plain (all-purpose) flour

2 teaspoons (10 ml) (10 gm) (1/3 oz) fresh baking powder

¼ teaspoon (1¼ ml) (1½ gm) salt

2 tablespoons (30 gm/1 oz) frozen grated butter (or a combination of lard and butter)

Approximately ½ cup (120 ml) cold milk

Optional 1 tablespoon milk, for glazing the tops of the scones


Frozen grated butter-Genius!


Directions1. Preheat oven to very hot 475°F/240°C/gas mark 9.

2. Triple sift the dry ingredients into a large bowl. (If your room temperature is very hot refrigerate the sifted ingredients until cold.)

3. Rub the frozen grated butter (or combination of fats) into the dry ingredients until it resembles very coarse bread crumbs with some pea-sized pieces if you want flaky scones or until it resembles coarse beach sand if you want tender scones.

4. Add nearly all of the liquid at once into the rubbed-in flour/fat mixture and mix until it just forms a sticky dough (add the remaining liquid if needed). The wetter the dough the lighter the scones (biscuits) will be!

5. Turn the dough out onto a lightly floured board, lightly flour the top of the dough. To achieve an even homogeneous crumb to your scones knead very gently about 4 or 5 times (do not press too firmly) the dough until it is smooth. To achieve a layered effect in your scones knead very gently once (do not press too firmly) then fold and turn the kneaded dough about 3 or 4 times until the dough has formed a smooth texture. (Use a floured plastic scraper to help you knead and/or fold and turn the dough if you wish.)

6. Pat or roll out the dough into a 6 inch by 4 inch rectangle by about ¾ inch thick (15¼ cm by 10 cm by 2 cm thick). Using a well-floured 2-inch (5 cm) scone cutter (biscuit cutter), stamp out without twisting six 2-inch (5 cm) rounds, gently reform the scraps into another ¾ inch (2 cm) layer and cut two more scones (these two scones will not raise as well as the others since the extra handling will slightly toughen the dough). Or use a well-floured sharp knife to form squares or wedges as you desire.

7. Place the rounds just touching on a baking dish if you wish to have soft-sided scones or place the rounds spaced widely apart on the baking dish if you wish to have crisp-sided scones. Glaze the tops with milk if you want a golden colour on your scones or lightly flour if you want a more traditional look to your scones.


Ready to Bake


8. Bake in the preheated very hot oven for about 10 minutes (check at 8 minutes since home ovens at these high temperatures are very unreliable) until the scones are well risen and are lightly coloured on the tops. The scones are ready when the sides are set.

9. Immediately place onto cooling rack to stop the cooking process, serve while still warm

Sunday, January 8, 2012

Back of the Box Blog 1-2-3-4 Cake


I have been fascinated with the recipes on back of the boxes and bottles that I buy. I will buy butter and inside the box are a few recipes that, on sight, look good. I started trying a few here and there and found that more often than not, the recipes were accurate and delicious.


This week I made a vanilla  cake recipe from the back of the Swans Down Cake Flour box. There was a recipe for a vanilla cake, chocolate cake and pound cake. I was impressed that they would cover the three main bases and got a good feeling about the recipe right away. Also, the ingredients and method were very appealing. I had thought that I might like to give such a plain cake a little oomph with a little almond extract only to find that ingredient already listed in the recipe.  I was really set on making it.
Making the cake is a breeze. It is as straight forward as its name. Here are a couple of things I do for cakes though to give them their best shot at yumminess. I sift the dry ingredients together as the recipe requires but then I use a wire whip and stir the flour mixture for about a minute more, ensuring that the leaven is well distributed and the mixture is aerated for a light cake. I read this trick from BakeWise by Shirley Corriher. While I like her explanations of the hows and whys of baking, I find her recipes too sweet and too  cumbersome.


The recipe for this cake called for three  9- inch pans. I do not know too many people who have this pan set up in their home kitchen. I don't and I have a lot of pans. I teach cake decorating and all of our practice cakes are 8-inch pans. I was making this cake for a class so I used  two 8-inch pans. The cakes rose beautifully. They took 30 minutes instead of the recipe's 20  minutes but that was expected. I just kept hovering after 20 minutes. The cakes did cling to the sides of the pan but that happens with almost every vanilla cake I have ever made. I let the cakes cool 10 minutes and then use a thin, flexible spatula to loosen the sides.
This cake smelled wonderful coming out of the oven. It was a beautiful color. It tasted really great if you like the almond flavor. I made a second batch using 1/4 teaspoon almond extract. It was much better with just that hint of almond.


My big test for a vanilla cake is the next day. Cakes such as these seem to deteriorate on flavor  perhaps due to their simplicity, they don't have much there to keep them fresh. I found this cake to be almost better the next day. The almond flavor  of the first batch was not as noticeable. The second batch had no real discernible almond flavor, just a richer taste.   Both batches had a bright aftertaste as opposed to that heavy tongue coating flavor that usually happens when cake goes bad.
The cake is soft in texture, I should add. Many of the vanilla cakes I make are a bit dense. I try not to refrigerate vanilla cakes if possible. I find it changes the texture a lot. But if I need to chill them, I try to choose a really creamy, flavorful filling to compensate.

I am going to keep this recipe for sure. I  plan to play with flavorings, maybe add a little orange zest here or espresso powder there. I think this recipe will adapt well. Here is the recipe with the adjustment for the almond extract.


1-2-3-4 Cake      
 adapted from the Swans Down Cake Flour box

8 ounces unsalted butter, room temperature
2 cups sugar
3 cups cake flour, sifted
4 large eggs
1 cup milk
1 tablespoon baking powder
1/2 teaspoon salt
1 teaspoon vanilla extract
1/4 teaspoon almond extract
 Preheat the oven to 350 degrees. Prepare pans by spraying with food release and lining bottoms with parchment paper.
 Cream the butter in a large bowl. Gradually add the sugar, creaming until light and fluffy. Sift the cake flour with baking powder and salt. Add the eggs, one at a time, to the creamed mixture beating well after each addition. Add the flour alternately with the milk and flavorings blending after each addition until smooth. Do not over beat. Pour into prepared pans.
 Bake for about 20 to 25 minutes or until a toothpick inserted in the center of the cake comes out with loose crumbs attached.
 Cool cakes in pans on a rack for about 10 minutes. Remove from pans and cool to room temperature before decorating.

Tuesday, December 27, 2011

December Daring Bakers Challenge: Sourdough Bread


 Our Daring Bakers Host for December 2011 was Jessica of My Recipe Project and she showed us how fun it is to create Sour Dough bread in our own kitchens! She provided us with Sour Dough recipes from Bread Matters by AndrewWhitley .

This challenge was like a science experiment. I never quite felt in control of the situation and that was a bit unnerving.  It is cold here now and that did not help my sourdough starter in the least. I made a rye starter and a wheat starter...twice. The wheat starter showed signs of life the second time around so I tried making some bread with it. My son came home from school that day and asked what the smell was in the house. It was my baking loaf of sourdough and I had to laugh. I had envisioned an aroma much like that of Merita Bread Company that baked bread in my hometown and made me hungry even if I had just eaten.
My bread made me open a window and light a scented candle.
The bread tasted flat and very sour. It was very heavy and I am sure I should have proofed it longer and baked it longer. I did not have the time or enough starter for a second batch. I will not give up though. I think I  will wait until the weather gets warmer here and then give it another try. I love the thought of having a sourdough starter in the fridge, making cakes, pancakes and especially pleasantly fragrant bread.

Until then, I am relying on Iggy's Bread,my local favorite, to see keep the sourdough love alive.


It's ALIVE!